
What Is Coffee Cupping and How Can You Do a Tasting at Home Like a Pro?
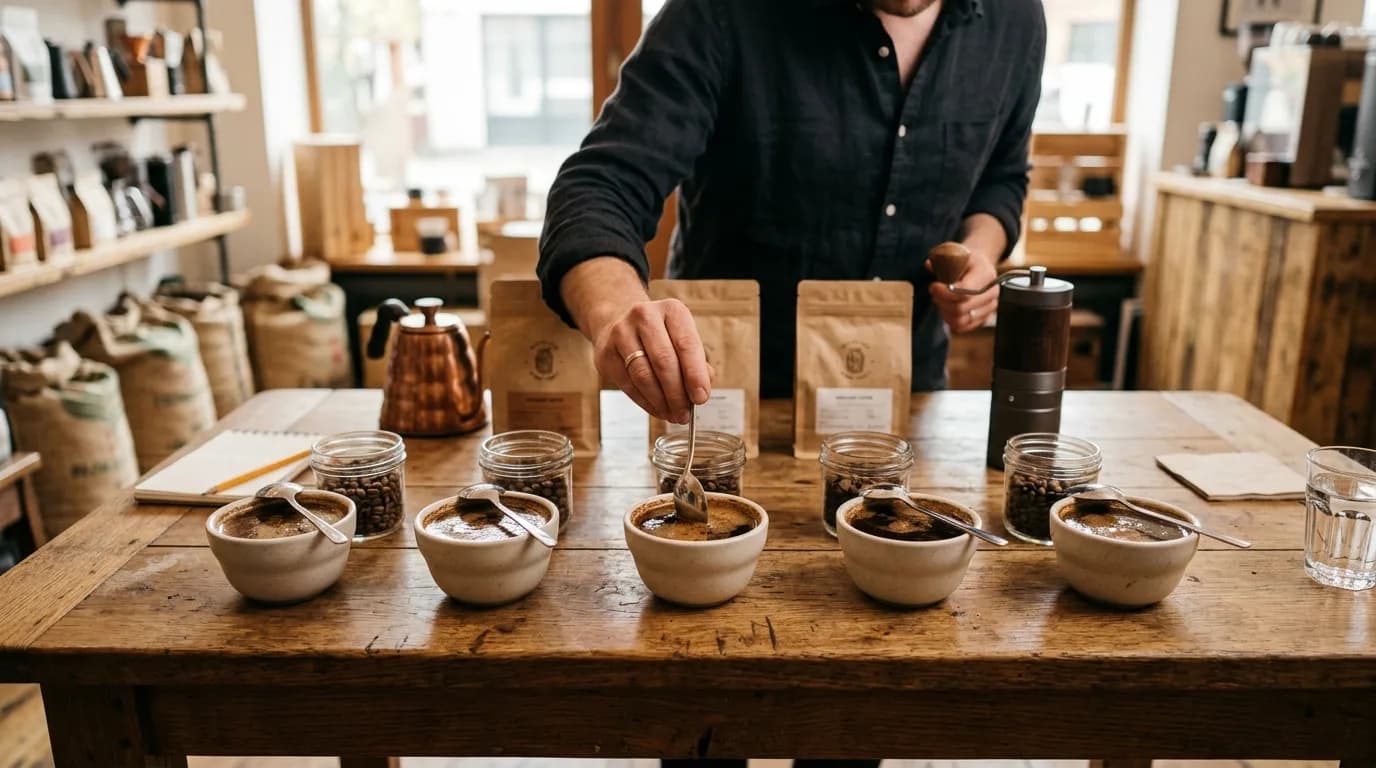
Coffee cupping is the standardized method professionals use to evaluate coffee. It strips away brewing variables so you can taste the coffee itself, nothing else. You do not need a lab or a Q grader certification to try it at home.
What cupping actually is
Cupping started as a trade tool. Coffee importers and roasters needed a repeatable way to assess quality across many samples at once. The process is simple by design. You grind coffee coarse, add hot water directly to the grounds in an open cup, let it steep, then taste it with a spoon.
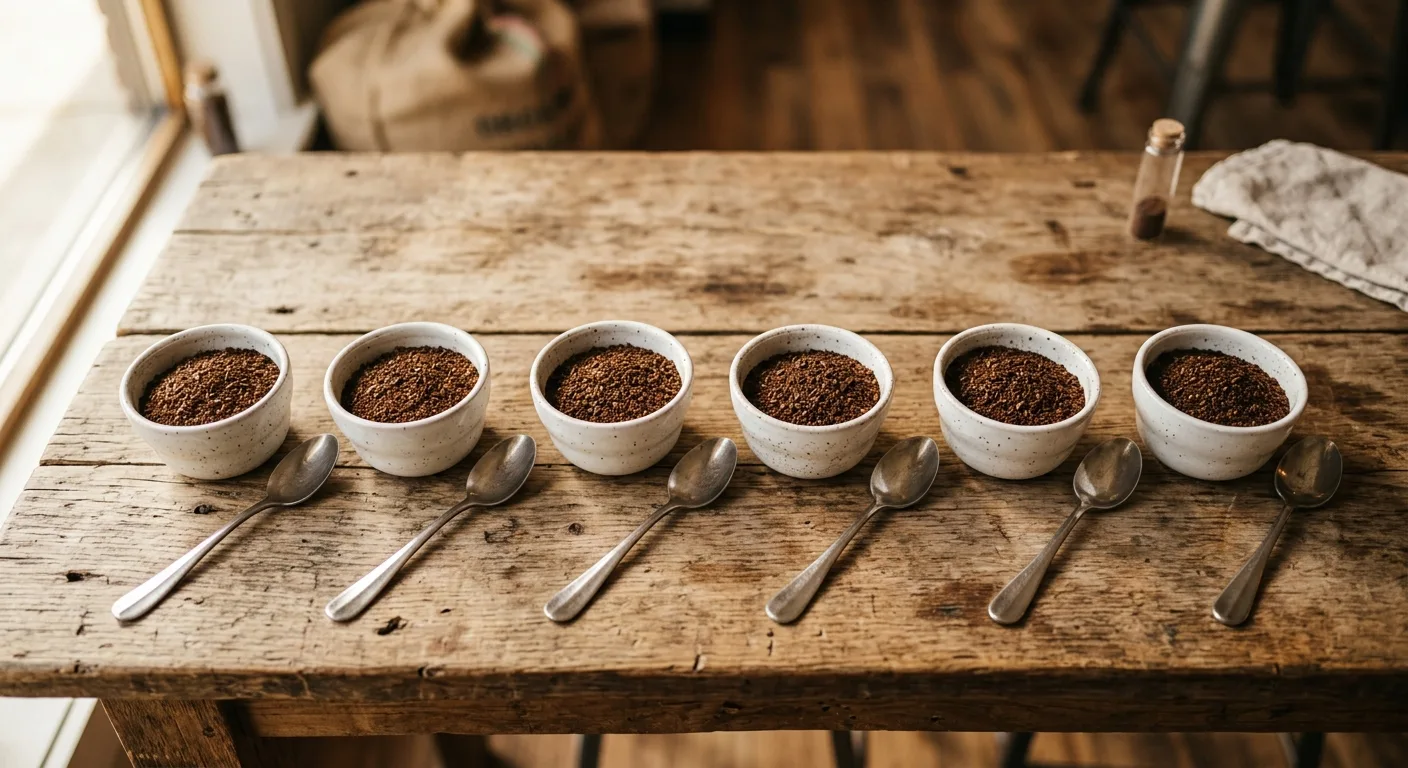
There are no filters, no pressure, no milk. What you taste is the coffee in its most unguarded form. Professionals do this daily. But the method works just as well on your kitchen counter.
What you need to get started
The equipment list is short. You probably own most of it already.
- Coffee (at least two different ones so you have something to compare)
- A burr grinder (consistent grind size matters here more than most brew methods)
- A kitchen scale (you want 10 grams of coffee per 170ml of water)
- A kettle (water at around 93°C or 200°F works well)
- Wide, flat cups or bowls (ramekins or small cereal bowls are fine)
- Two spoons (one for tasting, one for skimming the crust)
- A timer
If you want to try cupping with a range of origins, the 4-Count Most Popular Sample Pack from Diving Moose Coffee gives you four distinct roasts at 4oz each. It is a practical way to taste differences without committing to a full bag of each.
The step-by-step cupping process
Follow these steps in order. The consistency is what makes the results meaningful.
- Grind your coffee coarse, similar to coarse sea salt. Use the same weight for each cup.
- Smell the dry grounds before adding water. This is called the dry fragrance, and it gives you an early read on the coffee.
- Pour hot water directly onto the grounds, saturating all of them. Start your timer.
- At four minutes, a crust of grounds will have formed on the surface. Lean in and smell it before you break it.
- Break the crust by pushing a spoon through it three times. Smell as you do. This moment releases a strong burst of aroma.
- Skim the foam and floating grounds off the surface with two spoons.
- Wait a few more minutes until the cup is warm but not scalding, then taste.
- Slurp the coffee off a spoon with force. This sprays it across your palate and helps you pick up more flavor.
The moment you break the crust and smell what comes up is when most people start to understand why professionals take cupping seriously.
What to taste for
Professional cuppers score coffee across several categories. You do not need to score anything formally, but knowing what to look for helps you pay attention.
| Attribute | What it means | Example |
|---|---|---|
| Fragrance and aroma | What you smell dry and wet | Floral, chocolate, citrus, earth |
| Flavor | The overall taste in your mouth | Berry, caramel, nuts, stone fruit |
| Acidity | Brightness or liveliness on the palate | Lemon-like, crisp, flat |
| Body | Weight and texture of the liquid | Thin, medium, heavy or syrupy |
| Aftertaste | What lingers after you swallow | Clean, bitter, sweet, dry |
| Balance | How well the attributes work together | Harmonious, sharp, one-note |
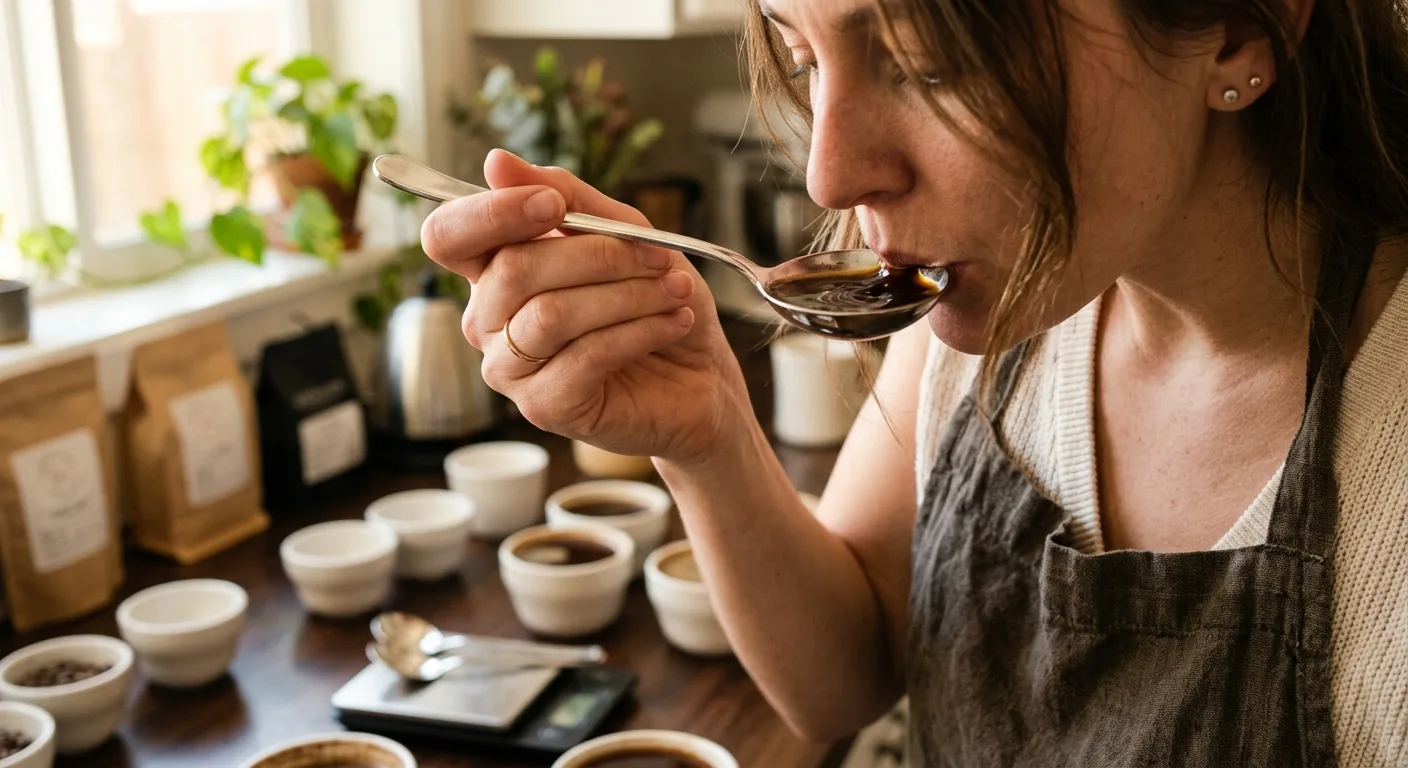
You will not identify everything on your first try. That is normal. The goal is to slow down and pay attention, not to name every flavor perfectly.
Taste each cup as it cools. Coffees change significantly between hot and warm. Some cups that taste flat at first open up as they cool, while others that seemed bright can turn bitter.
Why different origins taste so different
A big part of what makes cupping useful is comparison. When you taste an Ethiopian coffee next to a Brazilian one, the differences become obvious fast. The Ethiopian will likely have more brightness and floral or fruit notes. The Brazilian tends toward lower acidity with nutty or chocolatey flavors and a heavier body.
If you want to explore that contrast, Diving Moose Coffee has single-origin options that make the comparison easy. The Nyala is an organic Ethiopian Sidamo with medium-dark roast character, and The Otter is a medium-light roast from the Mogiana region of Brazil. Tasting them side by side in a cupping session is one of the clearest ways to understand how origin shapes flavor.
Common mistakes and how to avoid them
- Uneven grind (a blade grinder produces inconsistent particle sizes, which muddies your results; a burr grinder gives you a uniform grind)
- Wrong water temperature (boiling water scorches the grounds; let your kettle sit for 30 seconds off the boil)
- Rushing the tasting (wait until the cup is around 70°C before you taste; too hot and you will burn your tongue and miss most of the flavor)
- Only tasting one coffee (cupping without comparison gives you very little context; always taste at least two)
- Skipping the smell (aroma is a huge part of flavor perception; do not skip the dry fragrance or the crust break)
Start simple and build from there
Your first cupping session does not need to be elaborate. Two cups, a spoon, and some attention are enough to start training your palate. The more you do it, the more you will notice in every cup you brew, not just the ones you formally evaluate.
If you want a range of coffees to work with, the Georgia Roasted Single Origin Coffees collection at Diving Moose Coffee is a good place to start. Each purchase also contributes to wildlife conservation through the WWF partnership, so the coffee does more than taste good.